Tuesday, March 20, 2012

A Crazy Quilt case for my Ipod

What can we do when we have small pieces of fabric?
A Crazy Quilt. All we need to have on hand is: several pieces of fabric, a rotary cutter or scissors, an iron and a sewing machine.
Que pouvons-nous faire lorsque nous avons des petits morceaux de tissu?
Un Crazy Quilt.Tout ce que nous devons avoir en main est: plusieurs morceaux de tissu, un couteau rotatif ou des ciseaux, un fer à repasser et une machine à coudre
.
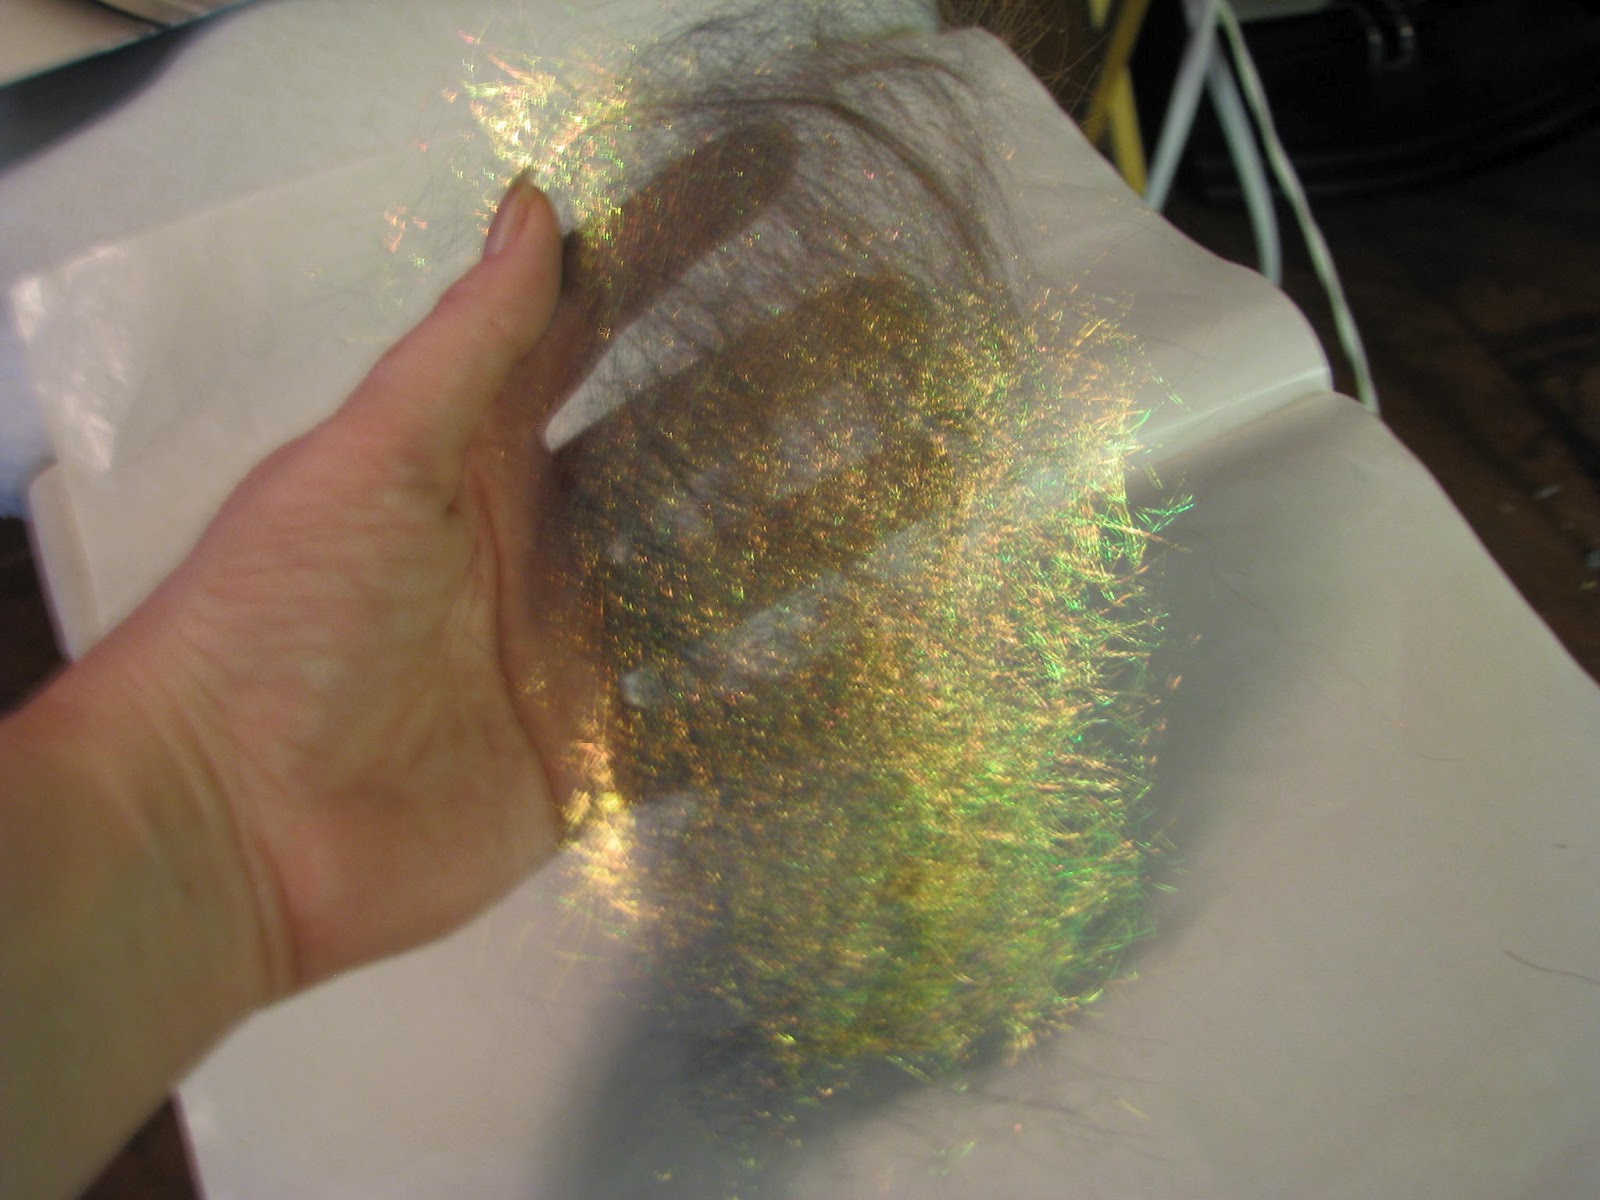
This is a picture of my scraps, you can see that I have a variety sizes of fabrics and this is what I will use to create my crazy quilt.
Ceci est une photo de mes morceaux, vous pouvez voir que j'ai une variété de tailles  de tissus et c'est ce que je vais utiliser pour créer mon crazy quilt.
There are many ways to create a crazy quilt, I will share with you how I do.
To begin we need a 4 or 5 sided piece of fabric, no matter the size because it depends on the size of your proyect. Since I'm going to make a small proyect I want to start with a very small piece. If you look at the photo my scrap is about 1" more or less.
Il ya plusieurs façons de créer une crazy quilt, je vais partager avec vous comment je le fais.
 Pour commencer il nous faut une pièce de tissu avec 4 ou 5 côtés , peu importe la taille parce qu'il dépend  de la dimensionde votre proyect. Comme je vais faire un petit proyect je veux commencer par un très petit morceau. Si vous regardez la photo de mon scrap est de 1 'plus ou moins.


My technique is easy; SEW, FLIP,IRON and CUT the surplus of fabrics.

I already  have my first piece of fabric cut, now I will cut another piece of fabric and I will place this piece on top of the first piece

Ma technique est facile; couture, pliage, le repassage et finalement  couper le surplus de tissus.
J'ai déjà mon premier morceau de tissu coupé, maintenant, je vais couper un autre morceau de tissu et je vais placer cette pièce sur le dessus de la première pièce

1) SEW- COUDRE

Match the edges and sew using 1/4" allowance from the edge

Faites correspondre les bords
 et coudre utilisant 1/4 " à partir du bord.


2) FLIP- PLIER

Flip this piece over to conceal the seam and expose the right side.

Retournez cette pièce pour cacher
 la couture et exposer le côté droit.

3)  IRON- Press- REPASSAGE


4) TRIM- COUPER

Trim as necessary to obtein a straight edge. 
 
Coupez tant que nécessaire
 pour obtenir un bord droit. 

Cut a rectangle of another fabric and...
Découpez un rectangle de tissu et ...


I will continue to add pieces of fabric until I have the dimensions
needed to make my case.
For my proyect I had to create 3 pieces of crazy quilt, two pieces will mesure
about 6"x4" it will be the front and the back of my case and another one of 3"x4"
for the flap

Je vais continuer à ajouter des morceaux de tissu jusqu'à avoir les dimensions
nécessaires pour faire mon étui.
Pour mon proyect j'ai dû créer 3 morceaux de courtepointe, deux pièces seront
d'environ 6 "x4" pour  le devant et l'arrière de mon étui et une autre de 3"x4".

To begin the decoration of my quilt I made a sandwich with a layer of stabilizer
first, then a layer of batting and finally I center the quilt on top and I started
doing the embellishment . I did my embellishment using the decorative stitches of
my sewing machine.


Pour commencer la décoration de ma courtepointe j'ai fait un sandwich avec une
couche de entoilage dechirable, puis une couche de batting et enfin je centré  la
courtepointe sur le dessus et j'ai commencé à faire l'embellissement. J'ai fait la
décoration de mon crazy quilt à l'aide des points décoratifs de ma machine à
coudre.

When I finished the embellishment I cut my pieces according to the mesure of my
patterns and then I started to sew my ipod case

Quand j'ai terminé l'embellissement j'ai coupé mes morceaux en fonction de la
mesure de mes patrons et puis j'ai commencé à coudre mon étui.

Some Close up of my pictures


Mon objectif aujourd'hui était de vous montrer comment créer un crazy quilt et vous
donner une idée sur la façon de l'utiliser. J'espère que vous avez aimé mon
tutoriel et comme je dis toujours n'oubliez pas que j'adore vos commentaires et
followers  vous êtes les bienvenus.
J'espère que vous avez  profite de cette publication
.

 
 I'm linking this tutorial to Threading My Way, Quilting and Patchwork ~ Link Party
 
 
My goal today was to show you how to create a crazy quilt piece and give you and
idea about how to use it. I hope you enjoyed my tutorial and as I always say
remember that I love your comments and followers you are welcome.
Enjoy!!!


PS: After publishing this tutorial, I made an update on the blog with a new tutorial showing how to make the  case, the link is here if you want to see.
I just ask  you to leave me comments if you like any of the projects, and that
you give me credit for the tutorial by linking back to my blog in some way.
 Enjoy!!


Thursday, March 1, 2012

How to make a Dress Form Mannequin Pin Cushion


I made this pincushion to decorate my sewing room. This project is done in just a couple of hours. The link to view the tutorial is here. It is a video made by DIY, you can also used for hanging jewelry such as necklaces and bracelets. If you do it, I'd like that you  share the photos with us, you can add a link to your blog or a link to where we can see them.


J'ai fait ce pin cushion  pour décorer ma salle de couture. Ce projet est réalisé en seulement quelques heures. Le lien pour voir le tutoriel est ici. Il s'agit d'une vidéo réalisée par DIY tv, vous pouvez également l'utiliser pour suspendre des bijoux tels que des colliers et des bracelets. Si vous le faites, je voudrais voir vos les photos, vous pouvez ajouter un lien vers votre blog ou un lien à l'endroit où nous pouvons les voir.

 
Passez une bonne journée et j'espère que vous avez aimé ma dernière création!

Have a happy sewing day, I hope you enjoyed my last creation !!!

Wednesday, February 29, 2012

An embroidery using Angelina fibers

As promised in my previous post here are the photos I took while I was doing the embroidery of the cover for my Brittany bag. I used the 235 disc from Husqvarna, yes again!!!  I have to admit that I love using this disc because it has so beautiful embroidery designs, but this time I wanted to go a little further and I used the yarn couching feet and some Angelina fibers, I have to say that everything was sew on vinyl, and fortunately the couching foot has not caused me  problems.
The Angelina that I have used is from Embellishments Galore. Genene owns that site and she  is the moderator of another yahoo group I belong and whom I adore, this is the link if you want to join the embellishment galore yahoo group click here .
Comme promis dans mon précédent post voici  les photos prises pendant que je faisais la broderie pour mon sac. J'ai utilisé le disque 235 de Husqvarna, oui, encore! Je dois admettre que j'aime utiliser ce disque parce qu'il a des de si beaux motifs de broderie , mais cette fois je voulais aller un peu plus loin et j'ai utilisé le yarn couching et quelques fibres d' Angelina, je dois dire que tout a été cousus sur vinyle, et heureusement le yarn couching feet ne m'a pas causé aucun problème.
L'Angelina que j'ai utilisée est de  EmbellissementsGaloreGenene possède ce site et elle est le modérateur d'un autre Yahoo groupe  que je fais partie et que j'adore, si vous voulez rejoindre le Yahoo groupe  Embellissement Galore  cliquez ici
Je vais vous montrer comment j'ai fait pour utiliser les fibres d'Angelina, mais gardez à l'esprit qu'il existe de nombreux tutoriels sur le web qui expliquent comment l'utiliser, il vous suffit d'écrire Angelina Fibers tutorial dans Google bar et vos aller trouver d'excellents renseignements.Un site que je conseille est Embellishment Village, ils ont plusieurs vidéos très intéressantes.


I'm just going to show you how I did to use the Angelina fibers, but keep in mind that there are many tutorials on the web that explain how to use it, you just have to write Angelina Fibers tutorials in Google bar and go to some great information. One site that I would advise is EmbellishmentVillage, they have some very interesting videos.
 I started using a Teflon sheet, inside I put some Angelina fibers, and then I used the iron at low temperature to merge all, for this embroidery design you need to create a piece of 20x10 cm with the Angelina.


J'ai commencé avec une feuille de téflon, à l'intérieur j'ai mis quelques fibres d' Angelina, puis j'ai utilisé le fer a repasser à basse température pour fusionner tout, pour ce motif de broderie vous avez besoin de créer un morceau de 20x10 cm avec les fibres Angelina.
Ici sont mes fibres de Angelina fusionnées et prêt à être utilisés comme un appliqué
Here are my Angelina fibers, ready to be used as an appliqué.
 What I find when I work with  the  Angelina is that according to the temperature of the iron and according to the time that we are ironing, is going to be the end result. I discovered that the longer we stay with the iron on the Angelina  , is going to be brighter. I encourage you to looking inside the Teflon sheets often to see how everything is merging and stopping as soon as we like the result.
Ce que je trouve quand je travaille avec l'Angelina, c'est que selon la température du fer a repasser et en fonction du temps, ça va être le résultat final. J'ai découvert que plus longtemps nous restons avec le fer sur le Angelina, plus elle va devenir brillant. Je vous encourage à regarder à l'intérieur des feuilles en téflon souvent pour voir  la fusion des fibres et arrêter dès que nous aimons le résultat.

Let's start
 First I Hoop 1 layer of tear away stabilizer and then to attach the vinyl to the stabilizer I used a   temporary spray adhesive (I always use the 505 Temporary fabric adhesive, I like it because the needle is not sticky when I use this type of adhesive), then I put the hoop in the machine and I'm ready to star.

Commençons
Pour commencer mettre un entoilage de type cut away  dans le cerceau  et puis pour attacher le vinyle au entoilage j'ai utilisé un adhésif temporaire (j'ai toujours utiliser la colle 505 , je l'aime parce que l'aiguille n'est reste pas collante quand j'utilise ce type de colle) , puis j'ai mis le cerceau dans la machine et je suis prêt à commencer.
Color 1
Skip it. L'ignorer, nous passons à la couleur  2
Color 2
I started my embroidery by skipping the first point, a matter of avoiding holes in the vinyl. When the machine finishes this color, we will have a guide that will tell us where to position the fabric, in our case the Angelina.


J'ai commencé ma broderie en sautant le premier point, une question d'éviter les trous dans le vinyle. Lorsque la machine termine cette couleur, nous aurons un guide qui nous dira où positionner le tissu, dans notre cas, la Angelina.


 Now remove the hoop from the machine. Let's put the  Angelina ( a piece of 20x10 cm ) on the hoop (to hold the Angelina in place I use some tape).


Maintenant retirez le cerceau de la machine. Nous allons mettre l'Angelina (un morceau de 20x10 cm) sur le cerceau, pour maintenir le Angelina en place-je utilisé du ruban adhésif.


Color 3
The machine will return to do a running stitch. When the embroidery with this color   is finished, remove the hoop and trim the excess of Angelina as close as possible to the line you just created .


La machine va faire une autre fois le  point droite. Quand le couleur 3 est terminé, retirez le cerceau et coupez l'excédent d'Angelina aussi près que possible de la ligne que  vous venez de créer avec la machine.


Color 4
It will repeat the same steps but on the other side, first the machine will create a guide with the running stitch and then we remove the hoop to trim the excess


permettra de créer un guide avec le point droite, puis on enlève le cerceau pour couper l'excédent. Il répète les mêmes étapes, mais de l'autre côté, tout d'abord la machine


Color 5
At this stage the machine will fix the angelina on vinyl, remove the hoop and then trim the excess .


A ce stade, la machine va fixer le angelina sur le vinyle, retirer le cercle, puis coupez l'excédent.


Color 6

                                                It does all the rest of the embroidery.
                              
                                            La machine  fait tout le reste de la broderie.
Color 7
It's time to install the accessories to use the  yarn couching feet. To know something more about this feet I invite you to look at my previous publication, click  here

Il est temps d'installer les accessoires pour utiliser le yarn couching feet. Pour en savoir quelque chose de plus à propos de cette pieds je vous invità regarder ma publication précédente, cliquez sur ici.


The embroidery is already finished, I hope you liked the tutorial. I always try to make it as clear as possible. I make my tutorials in English and French since I live in Montreal,  Quebec and our language is French and I want to share my blog with  many people as possible. When I started using my embroidery machine  I was fortunate to have classes with my dealer and over the years I took more classes to be able to learn different techniques, I learned from a lot of people around me, and that is why I decided to create this blog, because I thought that I received so much that  now it is my turn to give and share what I have learn.

Thanks for visiting my blog, I hope you liked the tutorial.
Do not forget to leave comments, I love receiving them!!!!!
I wish you all a happy sewing day!!!!!


La broderie est déjà fini, j'espère que vous avez aimé le tutoriel. J'essaie toujours de la rendre aussi claire que possible. Je fais mes tutoriels en anglais et en français puisque je vis à Montréal, au Québec et notre langue est le français et je veux partager mon blog avec beaucoup de gens que possible. Lorsque j'ai commencé à utiliser ma machine à broder j'ai eu la chance d'avoir des classes avec mon vendeur et au fil des ans j'ai pris plus de classes pour pouvoir apprendre différents techniques , j'ai appris à partir d'un grand nombre de gens autour de moi, et c'est pourquoi j'ai décidé de créer ce blog parce que je pensais que j'ai reçu tellement que c'était maintenant mon tour de donner et de partager avec vous.
Merci pour avoir visité mon blog, j'espère que vous avez aimé ce tutorial .
Je vous souhaite de passer une belle journée et à la prochaine.

Monday, February 20, 2012

Another Brittany bag with two covers.

Hello everybody ,in these last days I spend some time sewing another Brittany bag with two covers and today I want to share my bag with you.


Bonjour à vous tous, dernièrement je passe quelque temps à coudre un autre Brittany bag avec deux couvertures et aujourd'hui, je veux partager les photos  avec vous


If this is your first time visiting my blog and you want more information about the pattern for the  Brittany bag I invite you to read this publication I've done before, click ( here).I remind you that the link to the website where you can buy the pattern is(  here )
This time, for the  black  cover I made a modification, that was the addition of a pocket.


Si ceci est votre première visite sur mon blog et que vous voulez plus d'informations sur le
patron pour le sac , je vous invite à lire cette publication que j'ai fait avant, cliquez (ici).Je
vous rappelle que le lien vers le site où vous pouvez acheter le patron est (ici)Pour la couverture noire, j'ai fait une modification qui a été l'ajout d'une poche.

The embroidery was done with the disc 235 from  Husqvarna and I did it with angelina and wool. I
am preparing a tutorial with pictures that I took while I was creating the embroidery and I will
share the tutorial  with you in my next publication.


La broderie a été faite avec le disque 235 de Husqvarna et je l'ai fait avec angelina et de la
laine.  je prépare un tutoriel avec des photos que j'ai pris pendant que je créais la broderie et
je vais le partager  avec vous dans ma prochaine publication.
This is a picture to show you the cover alone, this cover will be attached to the base of the bag with velcro.
C'est une image pour vous montrer la couverture seule, cette couverture sera fixée à la base du
sac avec velcro


The result when we change the cover
Le résultat quand on change la couverture

Here I show my other cover, to show this bag I asked my 12 year old daughter if she agreed to be the model.

Voici je vous montre l'autre couverture , pour montrer ce sac j'ai demandé à ma fille de 12 ans si elle accepté d'être la modèle.

 I hope you like them, and see you soon.
                          You can leave comments, I love receiving them !!!

J'espère que vous les aimez,  à bientôt!!!!
Vous pouvez me laisser des commentaires, j'adore les recevoir!!!

Tuesday, February 7, 2012

Baby Bibs applique

During the month of January 2012 our family grew, we have a new family member, my cousin had an adorable baby and obviously I thought it would be a nice opportunity to create some bibs to give her.
Durant le mois de Janvier 2012, notre famille s'est agrandie, nous avons un nouveau membre dans la  famille, ma cousine a eu un bébé adorable et, évidemment, je pensais que ce serait une belle occasion de créer des bavettes à lui donner.

 I made these bibs  in the hoop, I  bought these set long ago from smart needle embroidery designs,  but are still there and this is the link if you want to see more pictures,  the direct link is here


Ces bavettes sont faites dans le cerceau, j'ai acheté ce ensemble il ya longtemps de smart needle embroidery designs , mais ils sont toujours là, le lien direct est ici

The set provides instructions and numerous photos. What I found long was the color changes  that   I had to do, between 14 to 15 color changes to complete each project, but it was worth, they are adorable. Here are more pictures I want to share with you.

 L'ensemble apporte des instructions et de nombreuses photos. Ce que j'ai trouvé long était les  changement de couleur que je devais faire, entre 14 à 15 changements de couleur pour compléter le projet, mais cela valait la peine, ils sont adorables.
 Voici les photos que je veux partager avec vous.


An adorable cow
           Une vache adorable

                                                              Un Beau chien.
                                                                                 A beautiful dog                                       


                    A sweet girafe
                       Une belle girafe


I hope you enjoyed these bibs, in my next post I'll show you a new bag that I ended up with two interchangeable covers.
Comments and followers are always welcome, I love reading your comments !!!

Have a nice day and see you soon.


J'espère que vous avez aimé ces bavettes dans ma prochaine publication je vais vous montrer un nouveau sac que j'ai fini avec deux coques interchangeables.
Commentaires et followers sont toujours les bienvenus, j'adore lire vos commentaires!!!!
Je vous souhaite  une belle journée et a bientôt.

Wednesday, January 18, 2012

Mill House Inn Tote Bag

Hello to you all, this is my first publication of this year and I take this opportunity to wish you all a happy 2012. I want to say welcome to the new followers, I'm really happy that you have joining my blog.
In this post I want to share photos of a tote that I made last year, this tote was made for a sew along challenge where I participated in  the  sewingtotebagsandpurses yahoo group.

The sewingtotebagsandpurses yahoo group to which I belong is fantastic, very friendly , is a group where we have the same passion that is to make totes, purses and bags. We will always find generous people who will share tips, links and with whom we converse. If you do not know this group I suggest  you to joining because you will love it.The link to the sewingtotebagsandpurses yahoo  group is here.

Dans ce post, je tiens à partager des photos d'une tote que j'ai fait l'année dernière, cette tote a été fait pour un défi, le sew along, où j'ai participé dans le  sewingtotebagsandpurses yahoo groupe .Le  sewingtotebagsandpurses yahoo groupe c'est un groupe que j'ai rejoint, et que j'adore, est un groupe où nous avons la même passion qui est de faire des fourre-tout et des sacs à main . Nous trouverons toujours personnes généreuses qui viendront partager des conseils, des liens et avec qui nous conversons. Si vous ne connaissez pas cette groupe, je vouz suggère de le  rejoindre vous allez l'adorer. Le lien pour joindre le groupe est ici.


To make this tote, we use as a reference this tutorial (click here) is the moda basket shop, this is  a place I will also recommend to visit as there are many projects, interesting and well explained.
Here are my pictures, if you compare with the original model you will be able to see the changes that I made ​​in my tote.

To make the top of my bag I cut strips of different widths, 1 ", 1.5" and 2 ", then I decided to add decorative stitches on some of the strips.


Pour faire cette tote, nous avons utilisé  comme référence ce tutoriel (cliquez ici) .
La boutique moda basket shop  c'est un endroit que je vous recommande aussi de visiter car il ya beaucoup de projets, intéressants et bien expliqués.
Voici mes photos, si vous comparez avec le modèle original, vous serez en mesure de voir les changements que j'ai fait dans mon fourre-tout.
Pour faire le haut de mon sac, je coupé des bandes de largeurs différentes, 1 ", 1,5" et 2 ", puis j'ai décidé d' ajouter des points décoratifs sur certaines de ces bandes.


For the bottom of the bag, instead of the free motion  that is suggested in the tutorial, I decided to create a pattern with my 4D software, one of the reasons is that I wanted to give texture to this part of the tote without doing free motion, free motion is honestly something I have to learn yet. For the  inside of the bag I added a zippered pocket on one side, in the other side I added two  pockets large enough to carry a water bottle.


Pour le bas du sac, au lieu du faire le free motion qui est suggéré dans le tutoriel, je
décidé de créer un motif avec mon logiciel 4D, l'une des raisons est que je voulais donner
texture à cette partie du fourre-tout sans faire du free motion, le free motion est honnêtement quelque chose que je dois encore apprendre.
Pour l'intérieur du sac, j'ai ajouté une poche zippée sur un côté, dans l'autre côté j'ai ajouté deux poches assez grands pour transporter une bouteille d'eau.


On the outside instead of the bow I decided to use a metal ring, I really like how it has become in the end the combination of colors and I have to admit that this time I left my comfort zone because it is the first time I use bright colors, but I admit when I finished this tote I went out to buy more fabric with these colors


À l'extérieur au lieu d'une boucle j'ai décidé d'utiliser un anneau de métal, j'aime vraiment le résultatet, à la fin je peut dire que j'aime aussi les couleurs, je dois admettre que cette fois j'ai quitté ma zone de confort parce que c'est la première fois que je utilise des couleurs vives, mais je doit vous  avouer quelque chose, et ce, que quand j'ai fini ce fourre-tout je suis sorti pour acheter plus de tissu avec ces couleurs.

I hope that  you have  enjoy my creation, I am currently finishing another Brittany bag with two covers, I hope to finish soon and share the photos with you in my next post.
Do not forget, comments and followers are welcome.

Have a nice day and see you soon.

J'espère que vous aimez ma création, je suis en train de terminer un autre Brittany bag avec deux couvertures, j'espère  finir mon projet bientôt et partager les photos avec vous dans mon prochain post.
N'oubliez pas,  commentaires et  followers sont les bienvenus.


Je vous souhaite de passer une belle journée et a bientôt.

LinkWithin

Related Posts Plugin for WordPress, Blogger...